

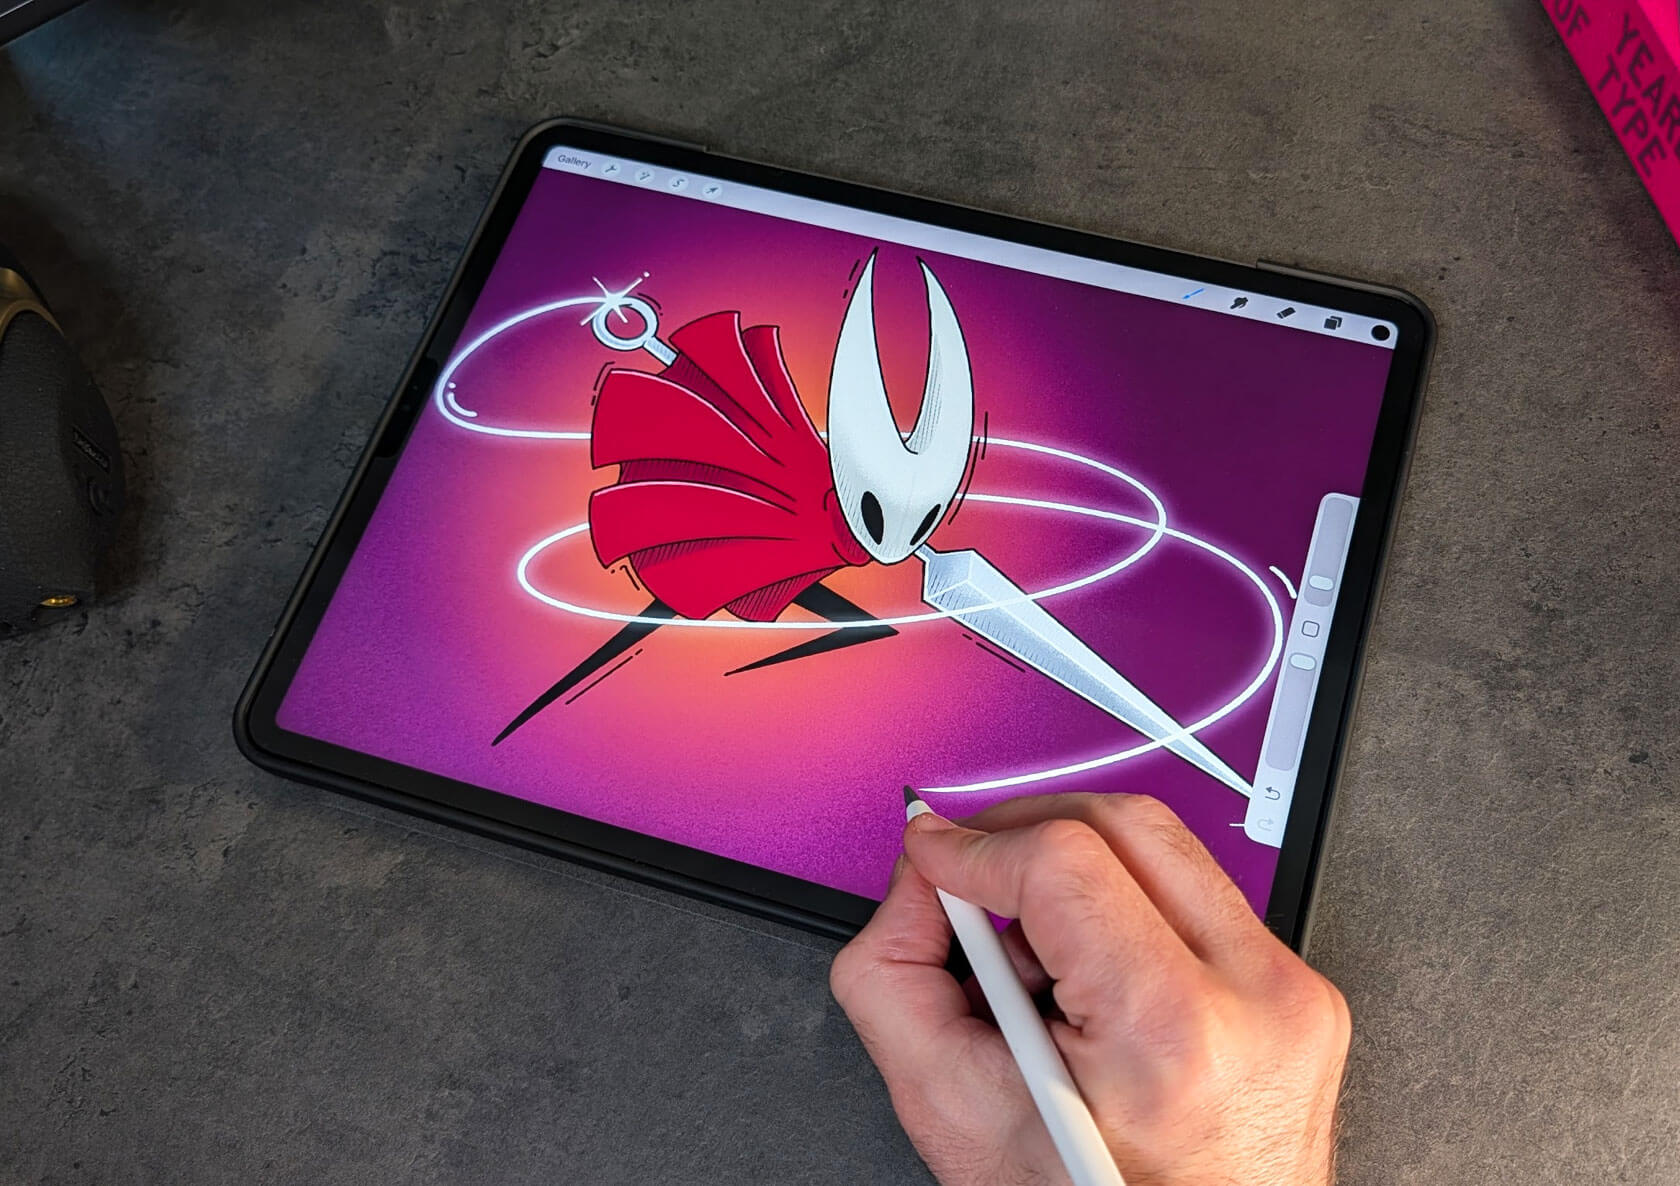
Paperlike 3 Review: The Best iPad Screen Protector Just Got Way Easier to Install
Published Oct 15, 2025
Includes affiliate content
All the (paper) feels, none of the stress.
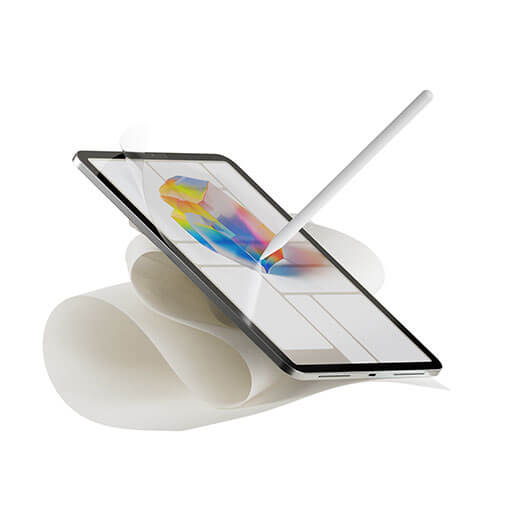
For years, the Paperlike screen protector has been one of the most popular accessories for artists, designers and note-takers who want a realistic “paper” feel on their iPad.
The latest version, Paperlike™ 3, builds on everything we loved about its predecessors while introducing one major upgrade: a much easier, fool-proof installation system.
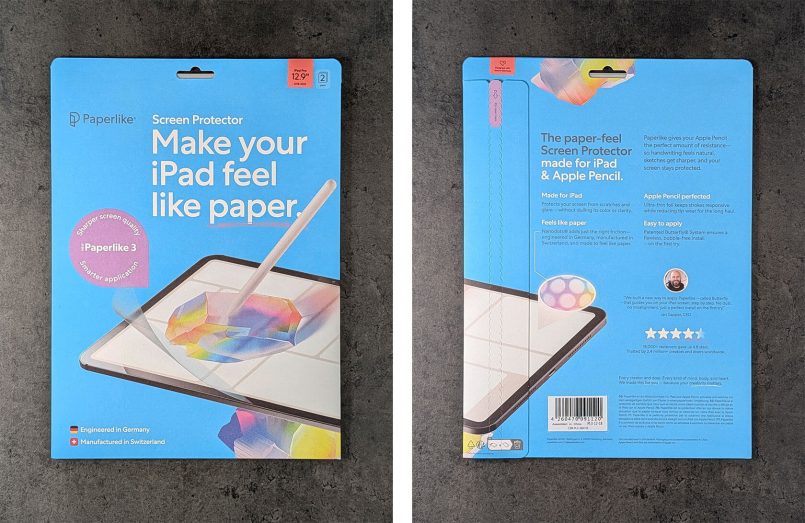
What’s in the Package?
If you previously used Paperlike, you’ll immediately recognize the bright blue packaging. Inside, a transparent sleeve with some beautiful lettering on the front houses two Paperlike 3 screen protectors, two wet wipes, and a multi-use Helper™ tool that cleverly doubles as a dry wipe, alignment frame, hook and squeegee.


There are also a few extras, like an art card with a personal thank you message from Paperlike founder Jan Sapper on the back, and a neat holographic sticker.


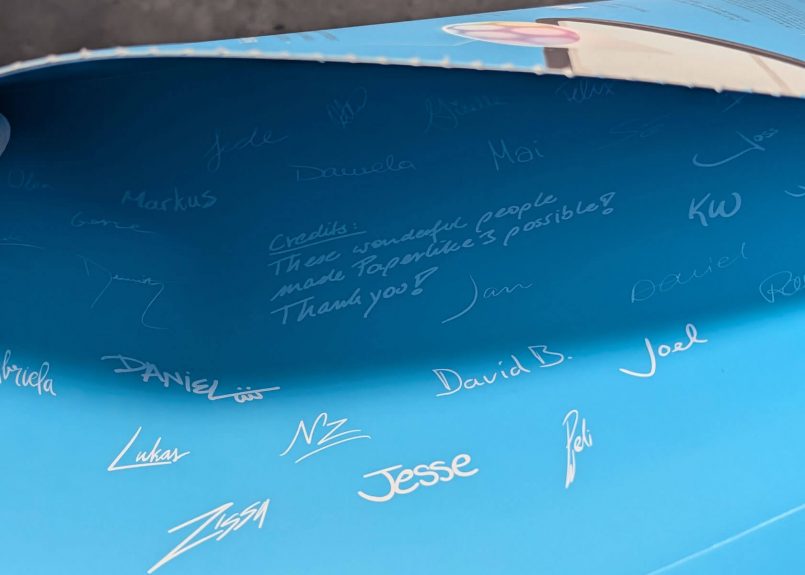
And if you peek inside the outer sleeve, you’ll discover a note alongside the names of team members who “made Paperlike 3 possible” – another nice touch.
Is Paperlike 3 Really That Easy to Install?
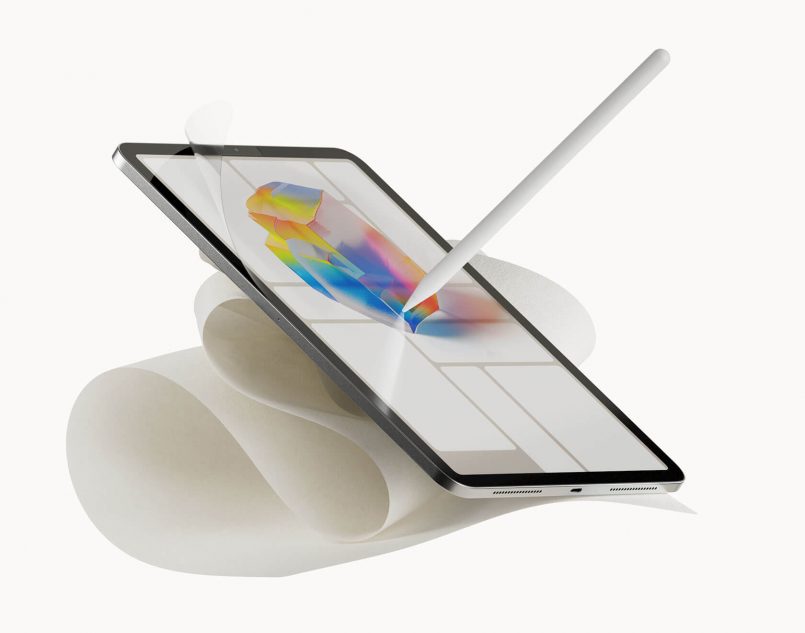
Yes, Paperlike 3 is significantly easier to install than previous versions thanks to its clever new Butterfly™ Application System.
Getting a screen protector on has always been a challenge (at least for me), and Paperlike developed this new patent-pending system to change exactly that. It’s a simple, step-by-step approach that makes the whole thing almost impossible to mess up, even if you’re doing it for the first time. That said, I’d still recommend doing it in a clean, dust-free environment and paying close attention to each step without rushing, as it’s still a delicate process with a few moving parts involved.
You can scan a QR code on the package to get clear visual instructions directly on your iPad. The first step is no different from any other screen protector installation. You’ll start by cleaning your screen with the included wet wipes, then drying it with the soft pink surface of the helper tool, which doubles as a dry wipe.
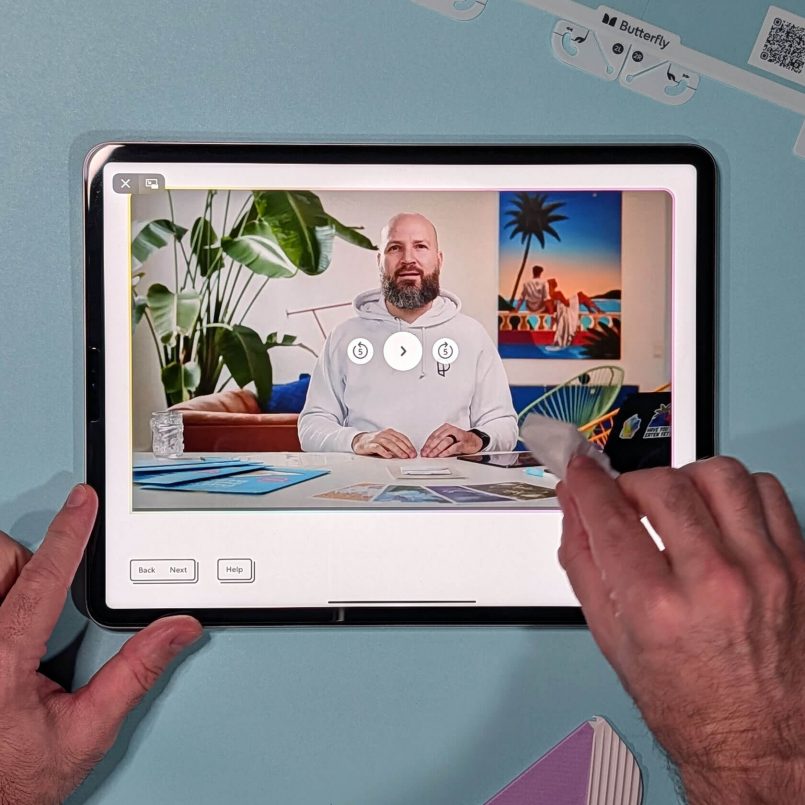
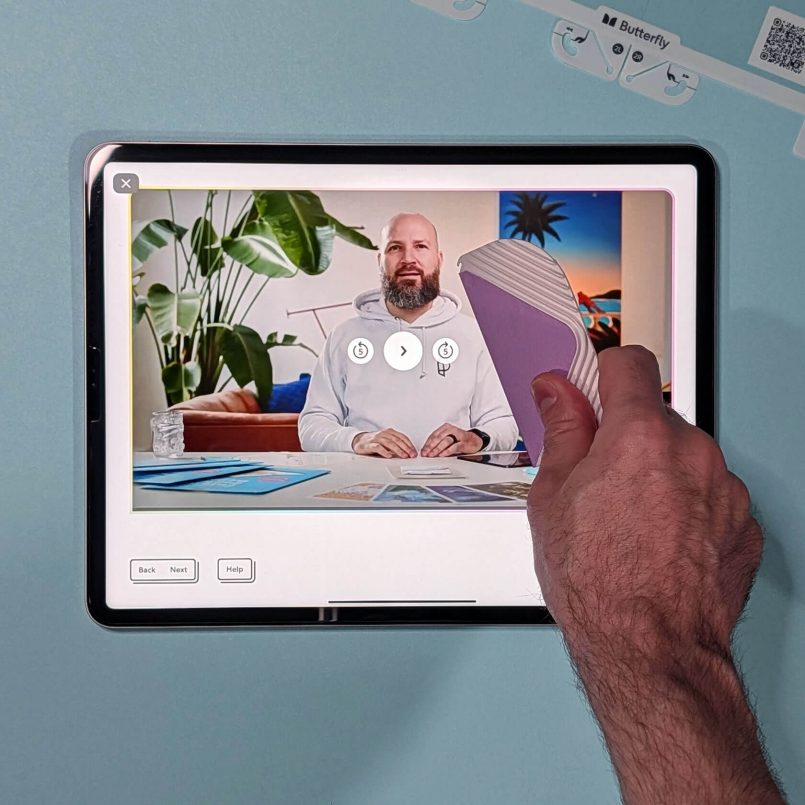
After that, you can place one of the screen protectors over the display and use the helper tool’s alignment frame on the top right corner of your iPad to help position your Paperlike 3 correctly.
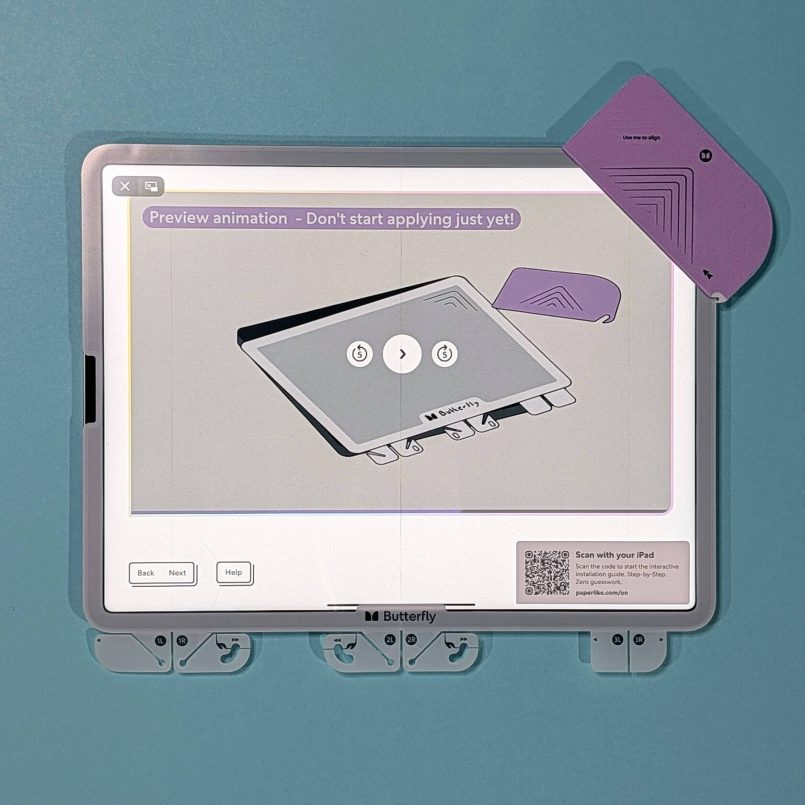
Once everything is perfectly aligned, peel off the first tab (labeled 1L) to secure the protector in place, then use the small hook found on the helper tool to remove the second tab (1R).
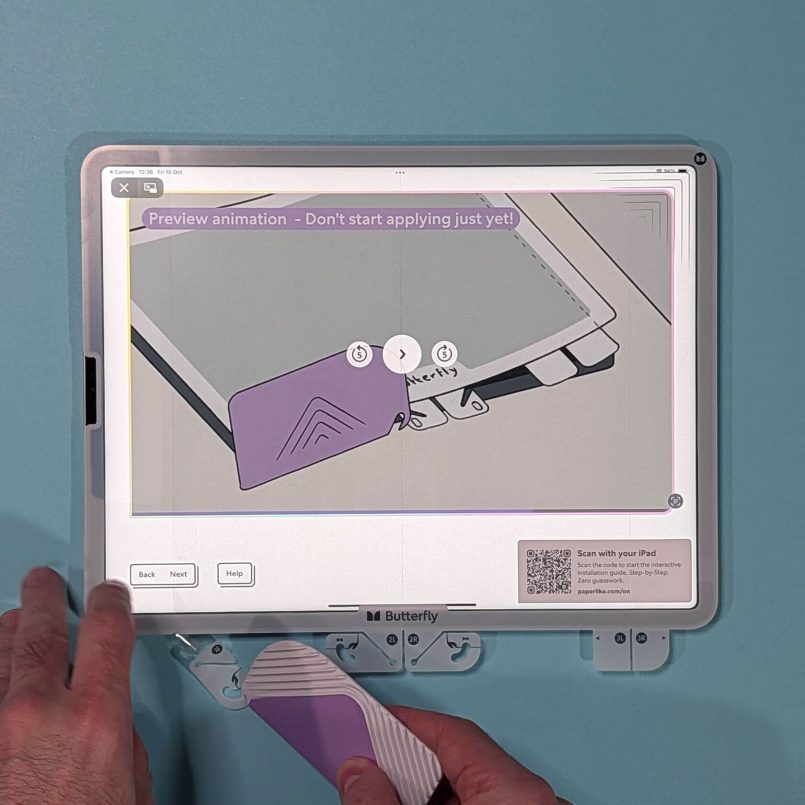
This attaches a dust-catching layer to the screen, and you can also use the multi-tool as a squeegee to ensure full adhesion.
From here, you can continue hooking and pulling the next set of tabs (2L and 2R), and your new Paperlike will fully stick to the screen. You can then use the squeegee edge to push out any bubbles (I recommend turning the iPad screen off to make them easier to spot). Finally, peel off the remaining tabs (3L and 3R) and you’re done.
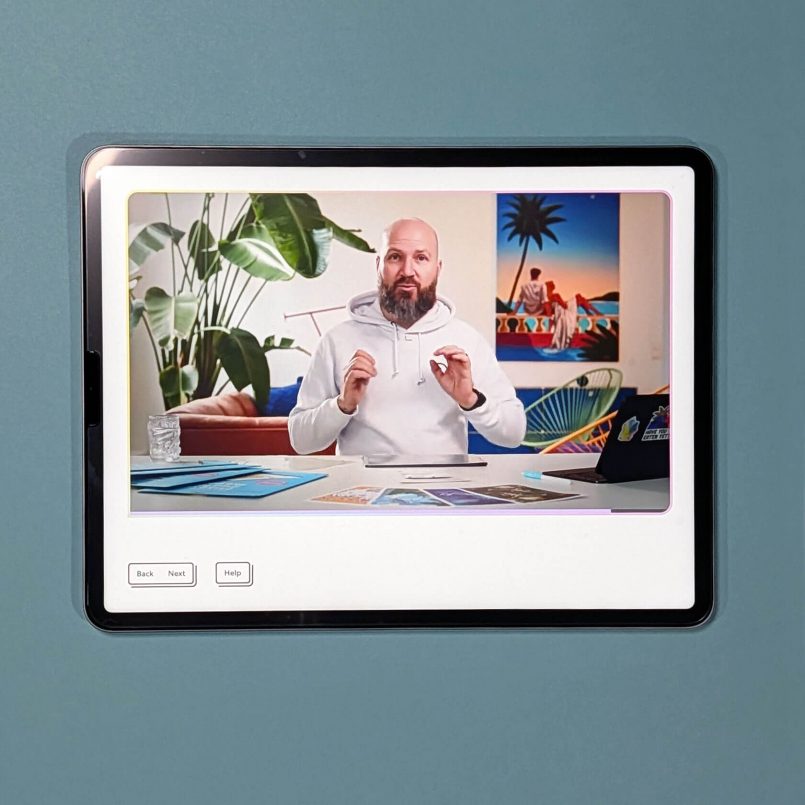
If you take your time and follow the steps, everything should work without a hitch and you’ll end up with a perfectly aligned, bubble-free screen protector on the first try.
If you’d like to see the full installation process in detail, you can check out Paperlike’s step-by-step instruction video here.
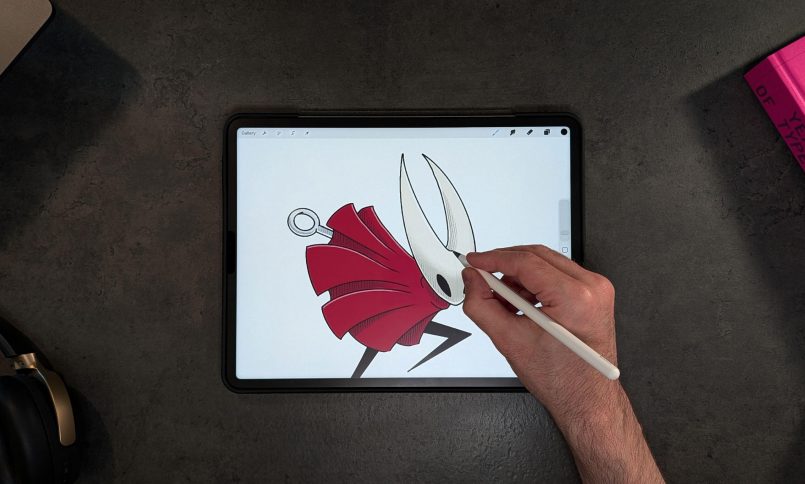
How it Feels: The Drawing & Writing Experience
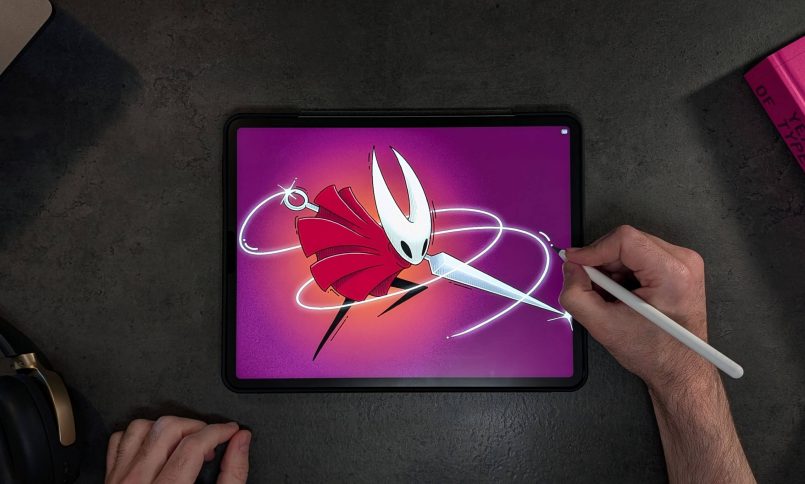
Once the new Paperlike 3 was applied and I started using it, it felt instantly familiar – and that’s a good thing! This new version still has that same subtle, textured surface that Paperlike is known for, so I’m glad they didn’t try to reinvent the wheel.
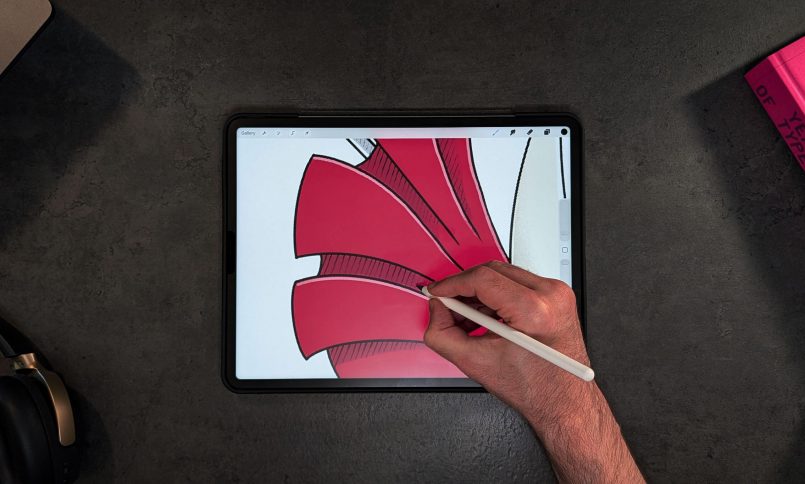
You can make the experience even better by pairing it with Paperlike Pencil Tips (or third-party options like PenTips Ink), which add a bit more friction for precise lines and an even more responsive tactile feel.
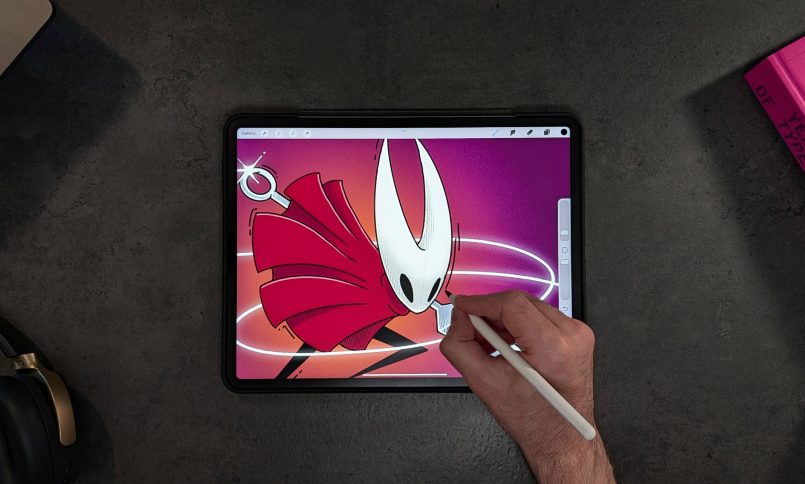
I can’t say too much about durability just yet, as I’ve only been using Paperlike 3 for a couple of weeks and wanted to share my first impressions, especially around the new installation system, which is what people are most curious about. I’m also not a particularly heavy user, so these kinds of screen protectors usually last me quite a while. Your experience might differ if you draw or write on your iPad every day, but based on previous versions, I’d expect similar longevity here.
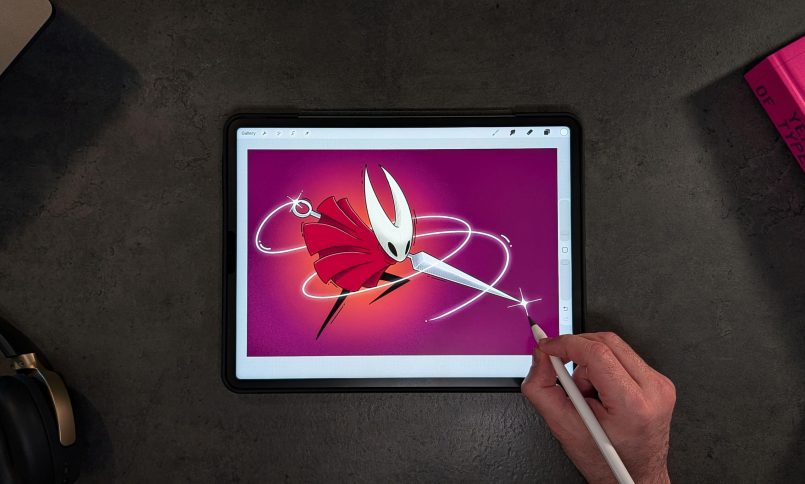
Overall, Paperlike 3 is fantastic and makes drawing and taking notes on the iPad a lot more enjoyable. But if you’re thinking about getting one, there’s something worth keeping in mind. The matte finish on the textured surface makes the iPad display slightly less vibrant and crisp. The impact isn’t huge, particularly when compared to lesser quality products on the market, but depending on your use case, it’s a trade-off you’ll have to consider.
If you don’t draw on your iPad that often, and mostly use it for streaming, web browsing or reading comics, a permanent textured screen protector like this one might not be the best option for you. In that case, a detachable option like the PenMat 2, which can be easily removed and reapplied as needed, might make more sense.
Pricing & Availability
Paperlike 3 is available now for $49.99 USD in the US, $69.99 CAD in Canada, £39.99 in the UK, and around $75 AUD in Australia via Paperlike’s website or Amazon US, CA, UK and AU. Each kit comes with two screen protectors, so you’ll have a spare ready when it’s time for a refresh.
Verdict
Paperlike 3 doesn’t reinvent the wheel when it comes to the feel and performance, it just makes one of the best iPad screen protectors even better by simplifying the installation. The new Butterfly system is a genuine game-changer, removing the most frustrating part of the process so you can enjoy that satisfying paper feel quicker than ever, without the hassle.
If you’re looking for a permanent paper-feel iPad screen protector that’s easy to install and designed with creatives in mind, Paperlike 3 is the gold standard.
This post contains affiliate links to partner brands. We earn a small commission if you click the link and make a purchase. There is no extra cost to you, so it’s just a nice way to help support the site. The product featured in this article was provided by the manufacturer for testing purposes, however, the opinions expressed are entirely our own.






More
articles
Inspiration
in your inbox
Amazing art & design, never any spam.
We care about protecting your data. Please refer to our Privacy Policy for more.

- Advertising
- Architecture
- Art
- Branding
- Fashion & Beauty
- Gaming
- Graphic Design
- Illustration
- Industrial Design
- Interior Design
- Logo Design
- Packaging Design
- Photography
- Pop Culture
- Print Design
- Product Design
- Technology
- Typography
- UX & UI Design
- Vehicle Design
- Video & Motion
© 2026 Inspiration Grid, all rights reserved. Some of our posts may contain affiliate links to partner brands. We earn a small commission if you click the link and make a purchase. There is no extra cost to you, so it’s just a nice way to help support the site. All images, videos, and other content posted on the site is attributed to their creators and original sources. If you see something wrong here or you would like to have it removed, please contact us.