

xTool M1 Review: A Precise, Feature-Rich Laser & Vinyl Cutting Machine
Published Oct 11, 2023
Includes affiliate content
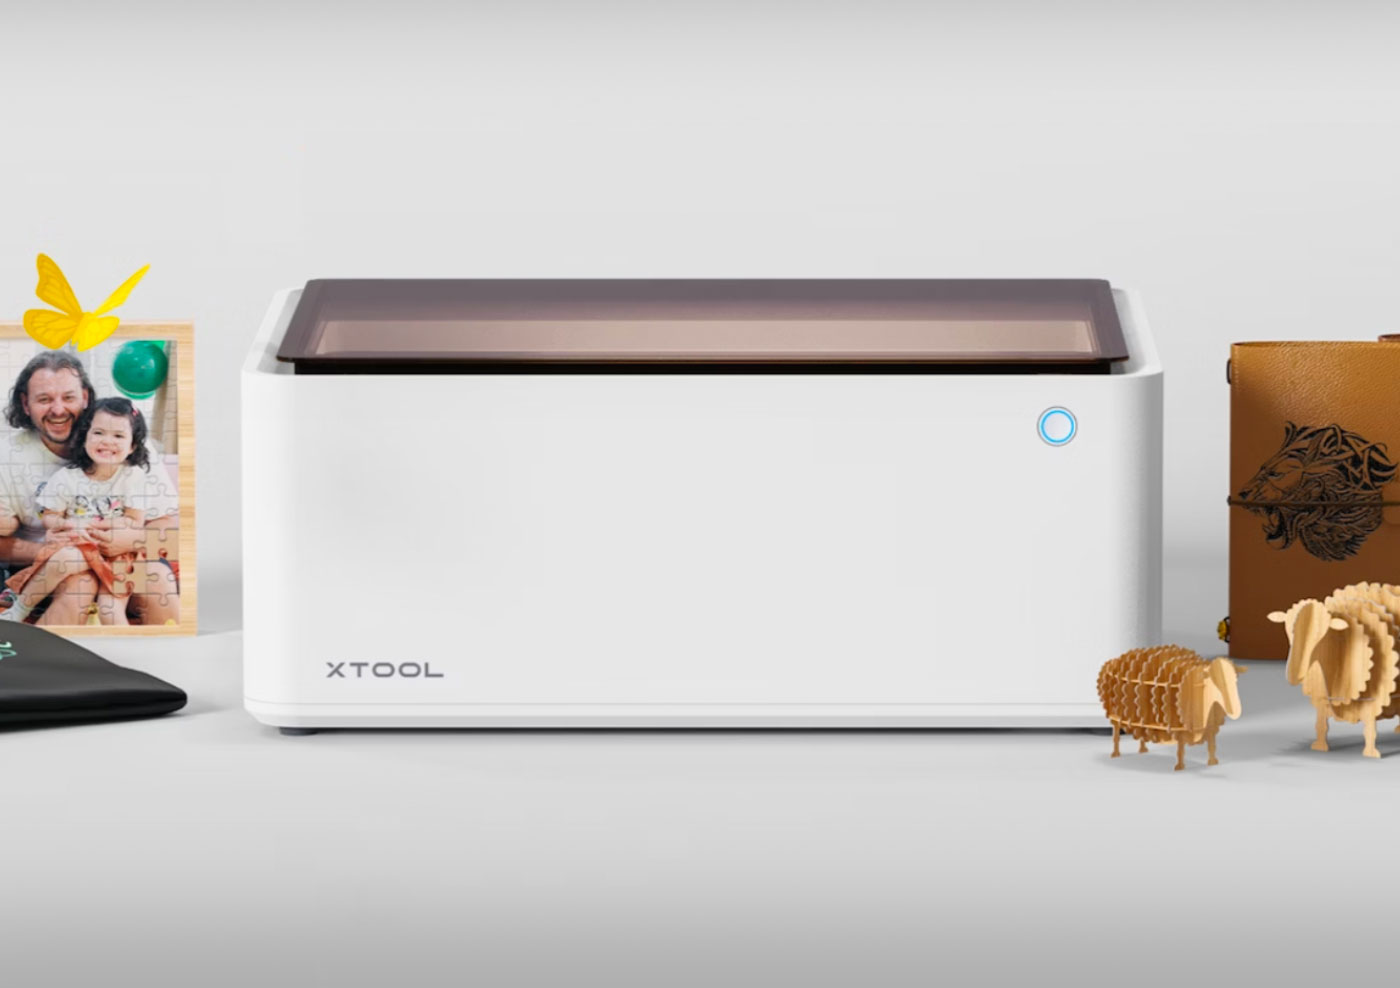
The xTool M1 is a fully enclosed craft machine that was designed to combine professional-grade laser engraving, laser cutting and blade cutting into a single desktop setup.
The M1 promises unmatched precision and speed for engraving and blade cutting projects across a diverse range of materials. This smart crafting machine holds the potential to become an essential tool for creative professionals aiming to design and sell their own unique products. Through this review, we’ll see if the M1 lives up to its promises by delving into its features, performance and overall value, providing an in-depth look at this machine to help you determine if this is the ideal crafting companion for your needs.
Unboxing & First Impressions
Upon receiving the M1, I was pleasantly surprised by the design of the box. Instead of opting for a standard cardboard package with single color printing commonly found on large machines like this, xTool took it up a notch by crafting a visually appealing package that seamlessly incorporates their branding and beautiful product images throughout.
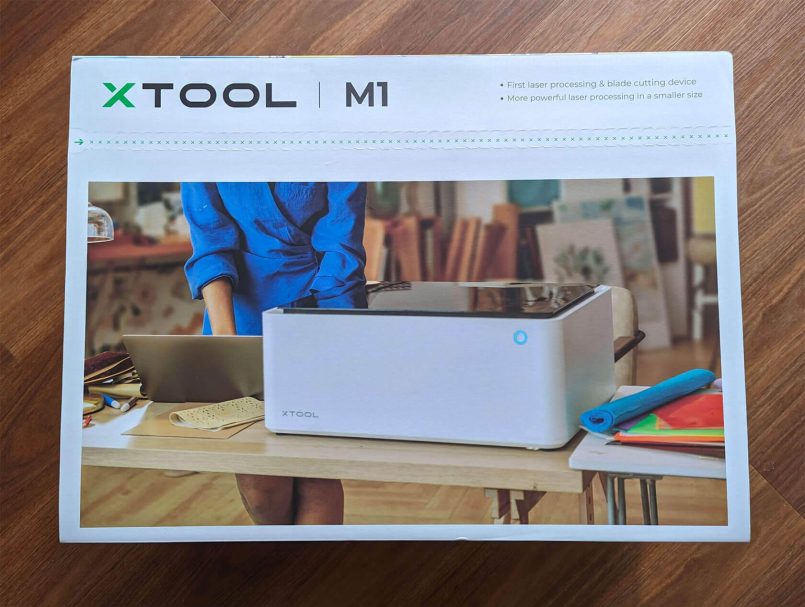
This attention to detail gave me the immediate first impression that this company values their products and takes pride in their presentation. I opened the box to find the M1 itself, plus:
- Power cable
- USB cable
- Exhaust pipe pack
- User manual
- Sample materials
- Extra blades
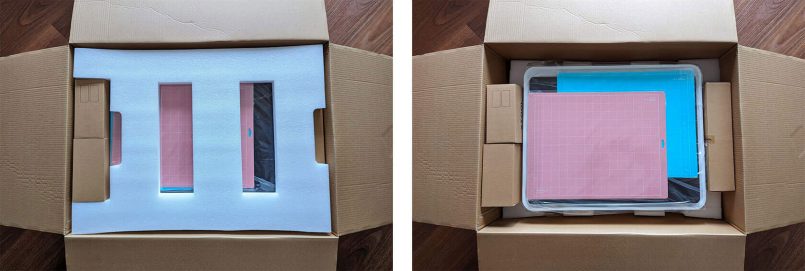
- 2 cutting mats
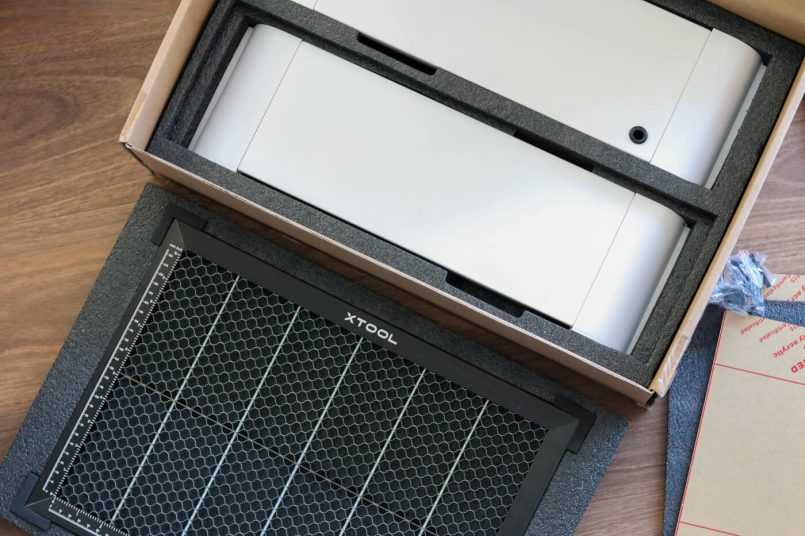
The machine was really well-packaged, with all the components carefully secured in their own designated compartment. The box also includes a layer of foam material to ensure nothing gets damaged during transportation.
Right out of the box, the M1 looks really high quality, with a clean design, solid construction and sturdy materials. One surprise was the larger-than-expected size, coming in at 22x18x9 inches (557x453x230mm), challenging for us big city dwellers, who suffer from limited apartment space. The cute thank you note that came with it was a nice touch, but unfortunately the IKEA-style instruction manual, with drawings instead of words, fell short in providing clear and comprehensive instructions for an advanced machine like this one. A YouTube search was necessary in order to successfully assemble and connect the device.
Additional items & accessories
The team from xTool was also kind enough to send us a range of extra goodies for this review:
- Premium material package
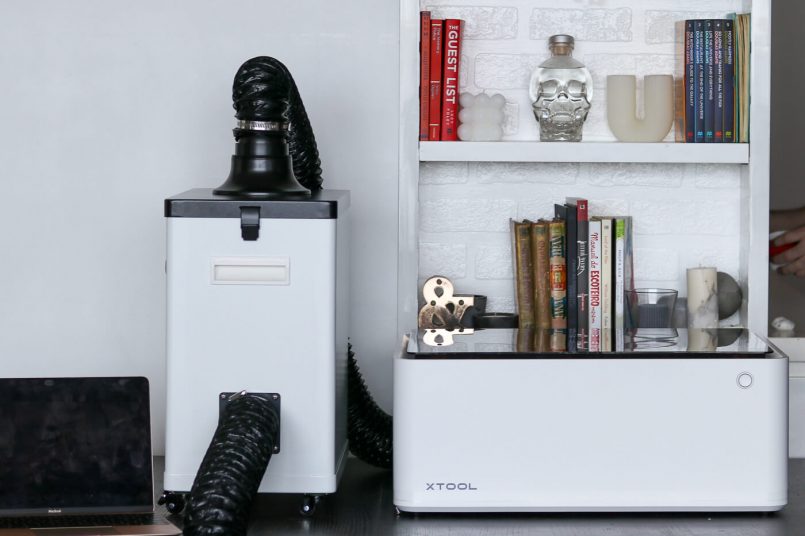
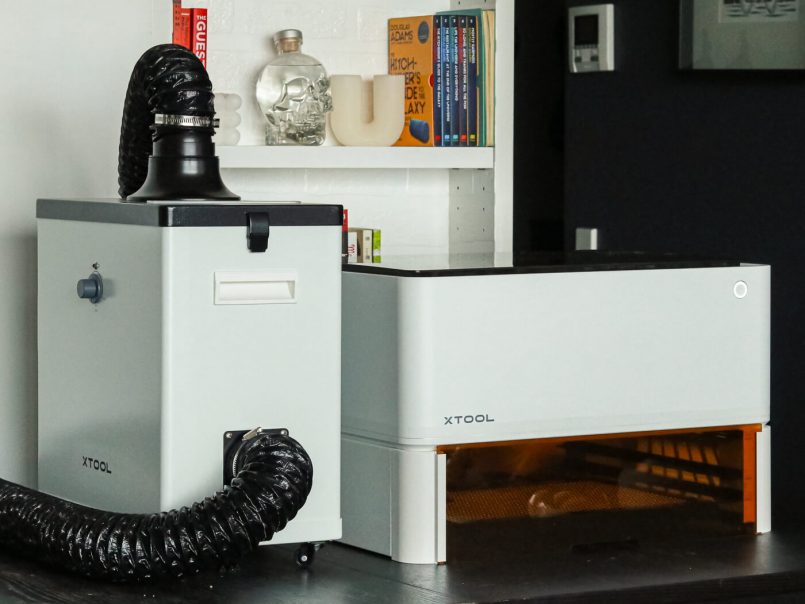
- xTool Smoke Purifier
- xTool Air Assist Set (for cleaner wood cutting)
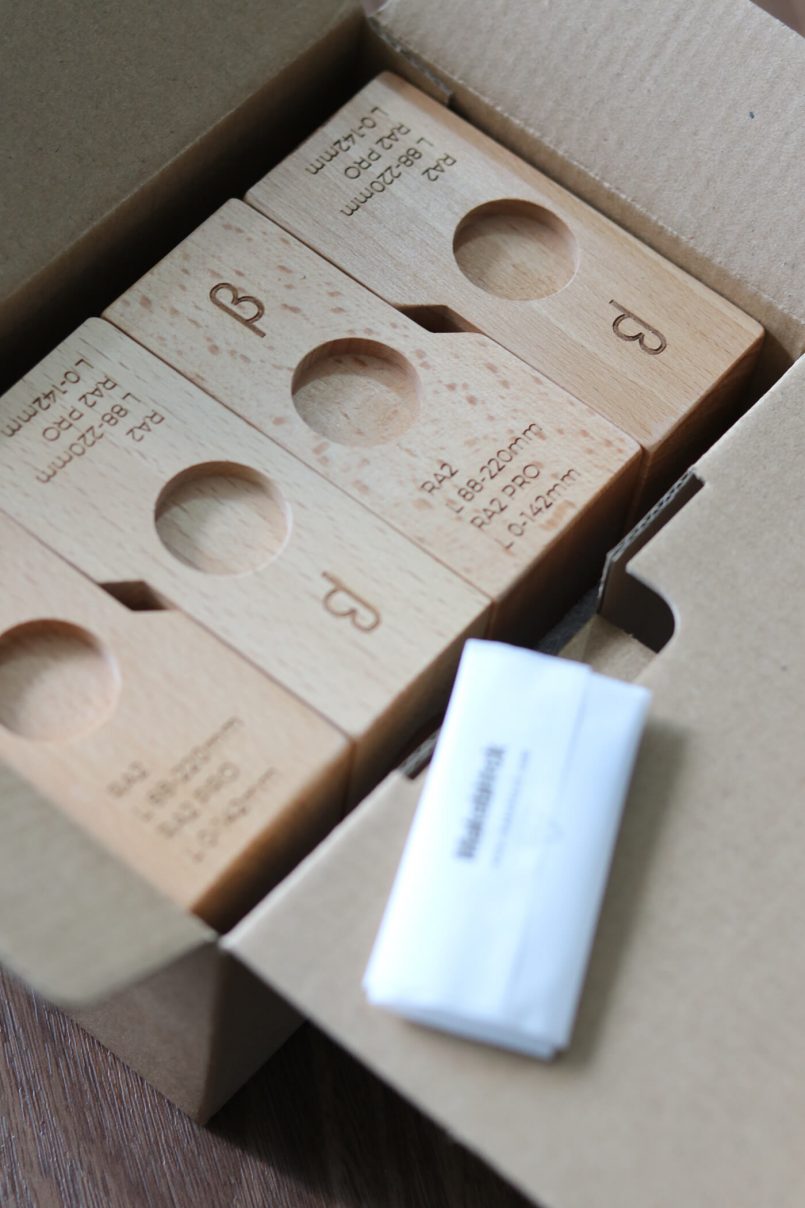
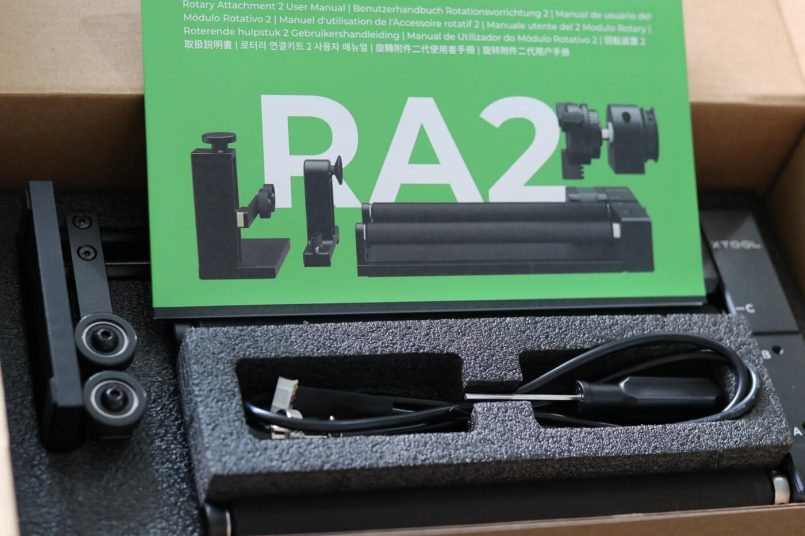
- xTool RA2 Pro with 4 Risers (rotary attachment)
- xTool Riser Base with Honeycomb Panel
Bear in mind that these accessories are not included with the standalone xTool M1, unless you order the all-in-one bundle. I’ll review all these items along with this machine so you can decide which ones might be worth getting for your particular use case.
xTool Software
The device’s free basic software, xTool Creative Space, caters to beginners by providing ready to use shapes and text options, enabling them to ease into designing. The trace tool is particularly handy for creating vectors out of JPG files with the click of a button.
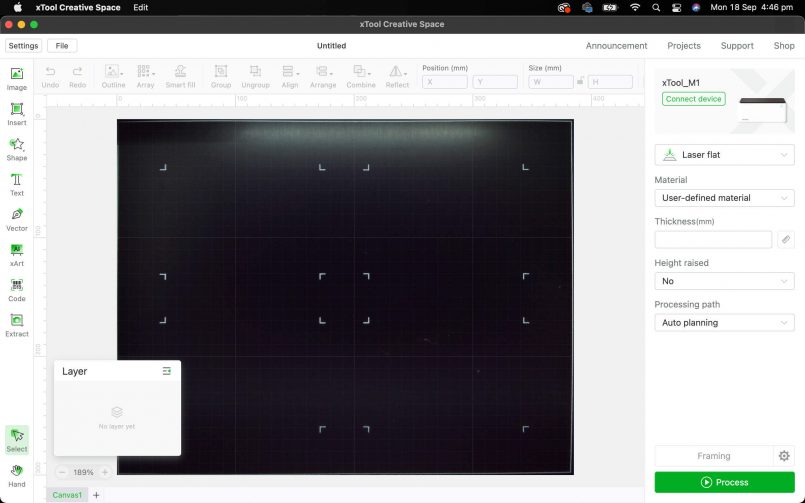
Seasoned creators, however, will find the current software lacking essential design features. Notably, the inability to hide layers, allowing you to focus on a single one at time, and the limited capabilities of the vector tool hinder precise design work, limiting creativity and efficiency.
Some of these limitations, however, should be addressed with an upcoming update, which was just announced (v1.6). This update will finally add the ability to hide layer elements, along with a number of other useful features such as clipping masks, cloud storage, automatic file recovery, and xArt, an integrated AI image generator.
Sample Materials
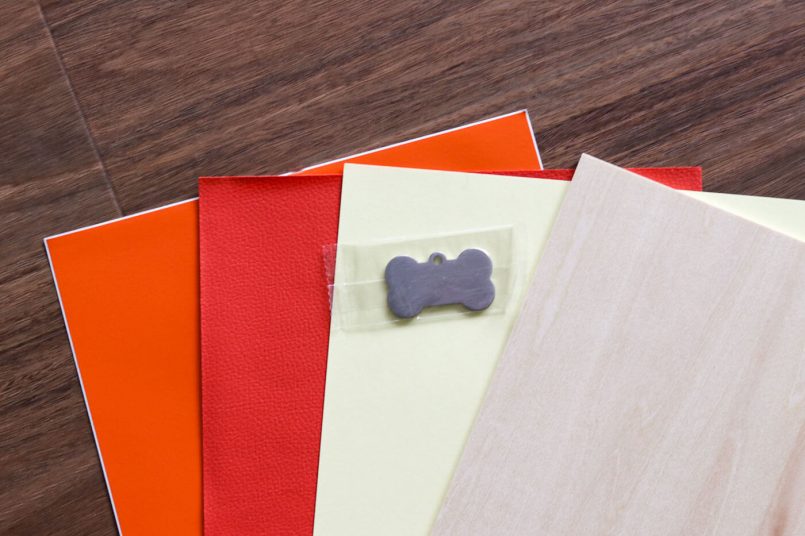
The standalone M1 comes with a slab of wood, a stainless steel dog tag, and a couple of sheets of sample paper, vinyl and leather, which is really not a lot to play with.
I definitely recommend ordering their premium material package with this machine. This package is a crafter’s dream come true. Some girls like Tifanny’s. I, personally, prefer the office supply store. The box comes with what seems to be an infinite amount of colored papers, vinyl, acrylic and leather samples. Plus wood sheets, wood coasters, wood tags, a wood phone stand, stone coasters, metal tags, metal cards, metal pendants, a fabric tote bag, and 2 additional cutting mats.
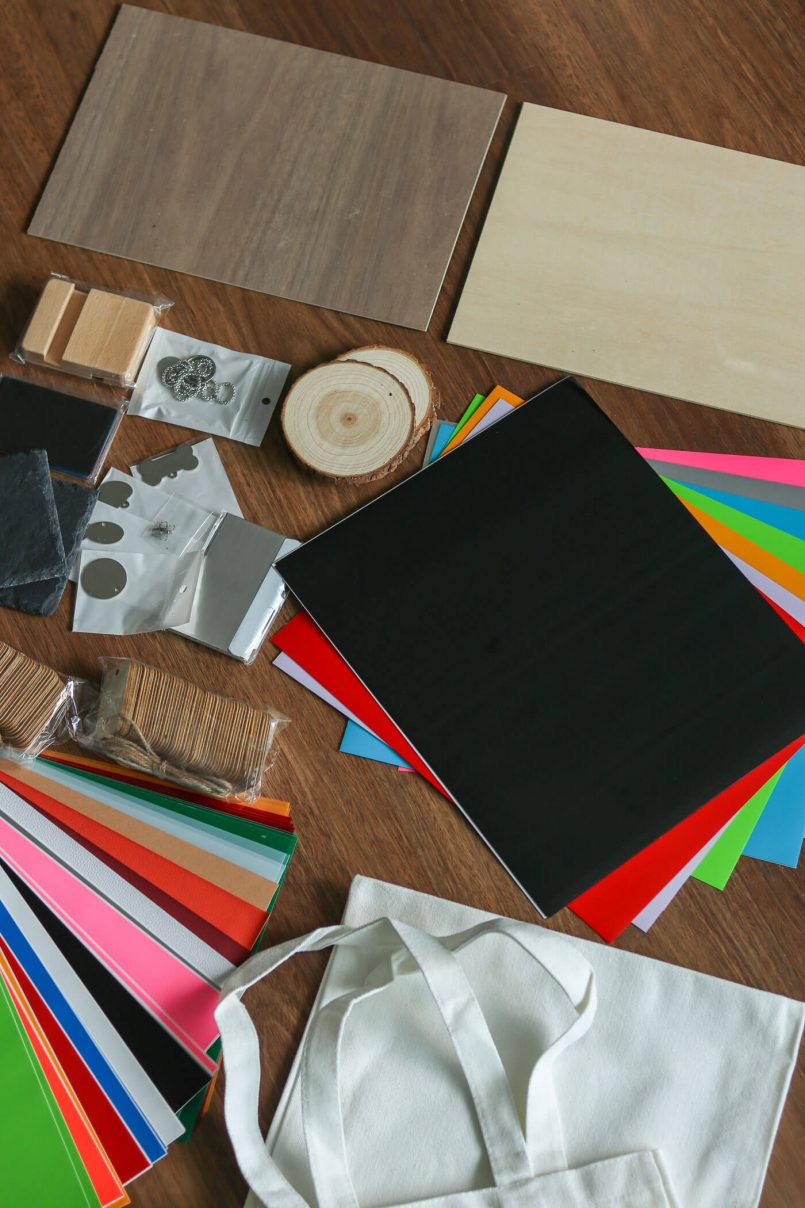
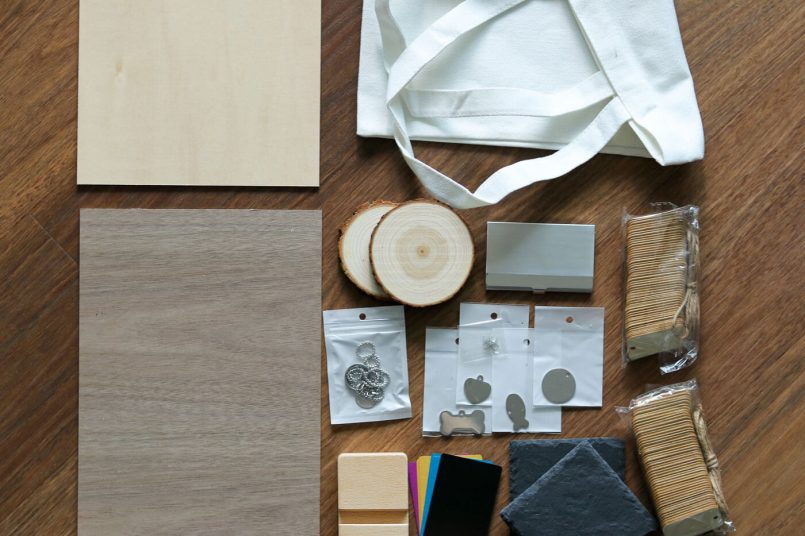
This bundle also comes with a neat cheat sheet, telling you what to do with each material and what settings to use. This is the type of useful information which is noticeably absent from the main product packaging. Without it, you’re forced to rely on xTool’s website or Google to find the right settings most of the time.
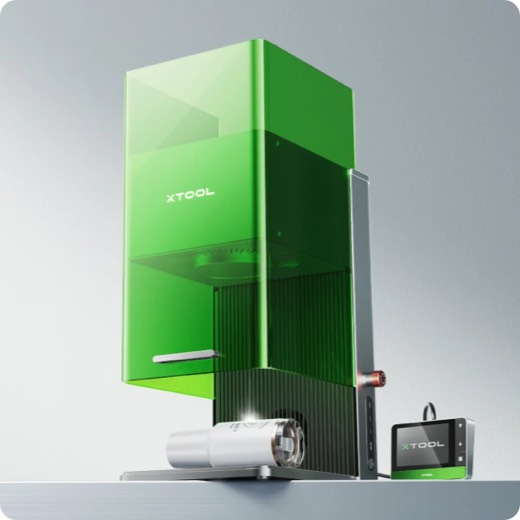
Design & Build Quality
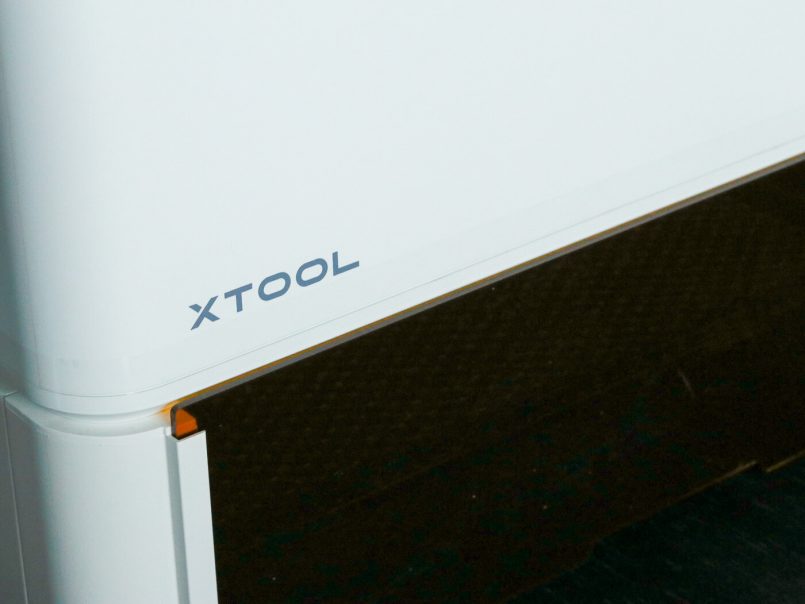
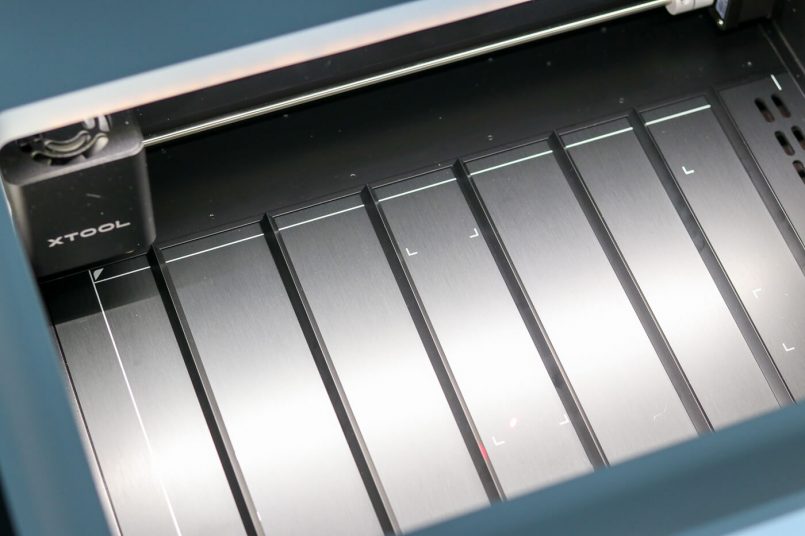
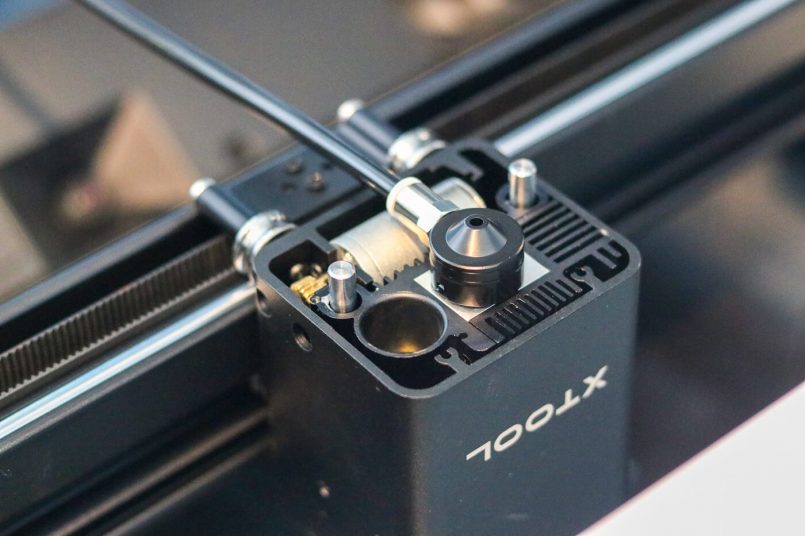
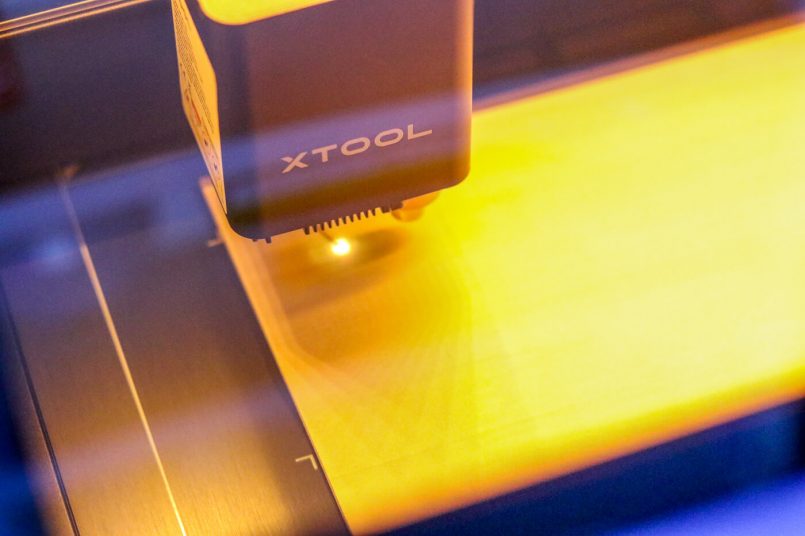
The exterior design of the xTool M1 is very sleek and its white color looks great in any setting. Inside, the machine uses top-tier industrial materials like aluminum alloy and steel rollers to ensure precise cuts and engravings every time. The M1’s high-speed spindle delivers swift and accurate blade cutting, allowing me to complete projects quickly without compromising on quality. On top of that, the machine’s laser engraving feature allows for intricate designs to be etched onto various materials with exceptional detail.
According to xTool, the M1 also features advanced flame detection technology, which is a nice peace of mind/safety feature that I don’t intend to test anytime soon. Great to know though!
My Experience with the xTool M1
As soon as I turned the machine on, the first thing I noticed was the noticeable humming noise it makes while on standby. It made me think that it might be more suitable for a studio or garage, rather than a living room. People around me trying to focus on other tasks will have to put their headphones on, I suppose.
Note: This isn’t something that is usually mentioned in other reviews, so I have reached out to xTool to verify the standard noise levels of this machine. This may not be an issue for all users, and may just reflect my particular experience with the M1.
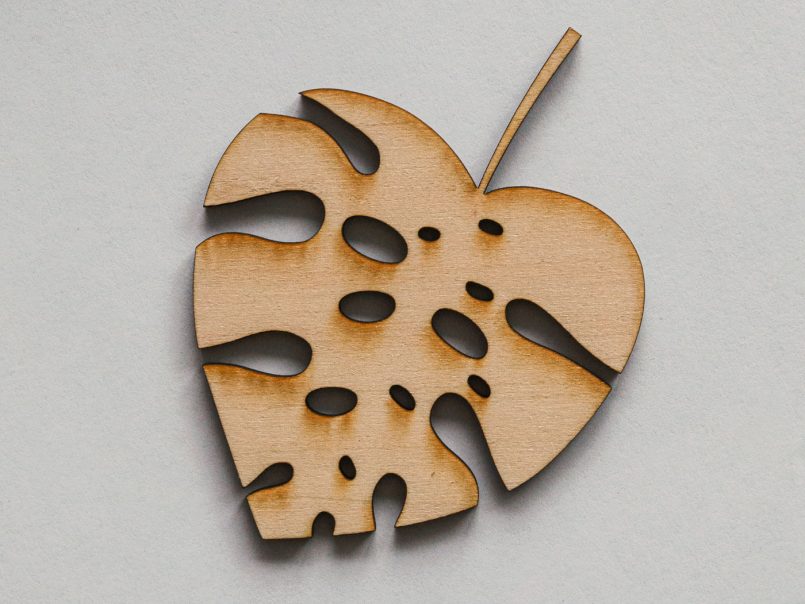
For my first job with the M1, I selected a ready-to-use shape from the software’s menu and set the laser to cut it out. The cut is 100% precise, with very small burn marks around it, but I noticed a lot of burned residue at the bottom of the machine.
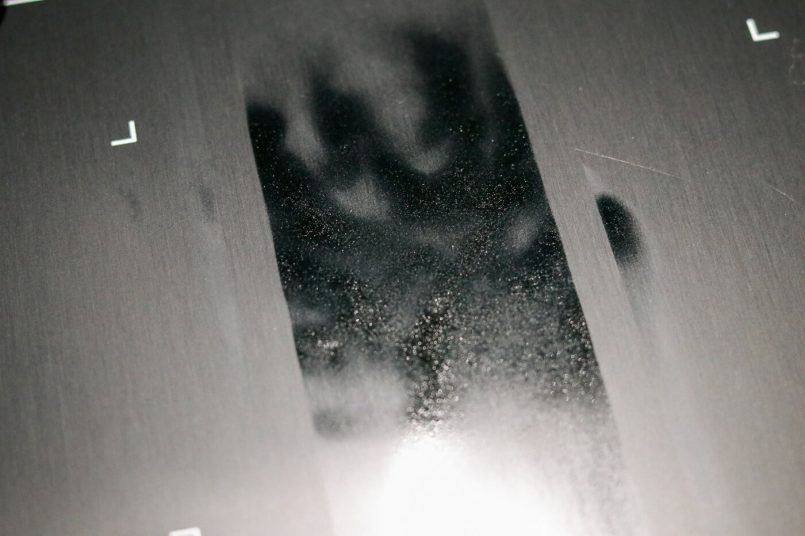
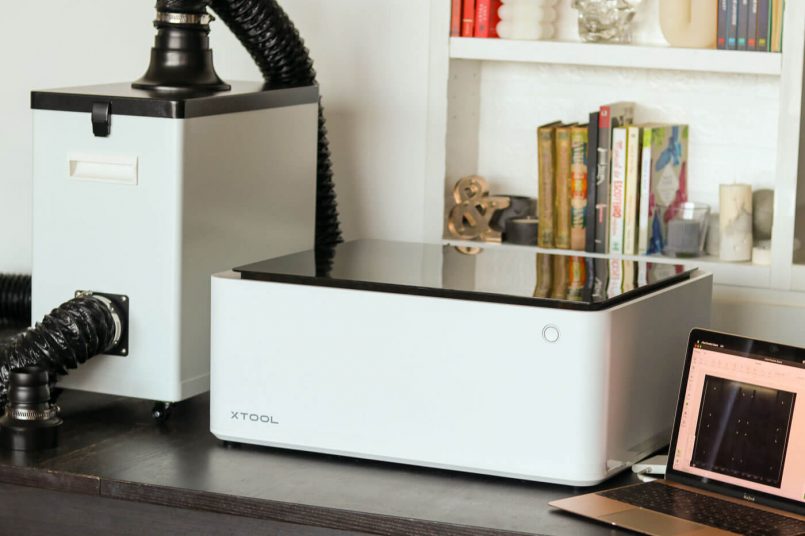
There’s some light smoke and the smell of burned wood is noticeable. I then remembered that the exhaust fan needs to be directed out the window, it wasn’t. Whoops. I decided that I’m cold and don’t want to open a window, so it’s a good opportunity to install and test the smoke purifier instead.

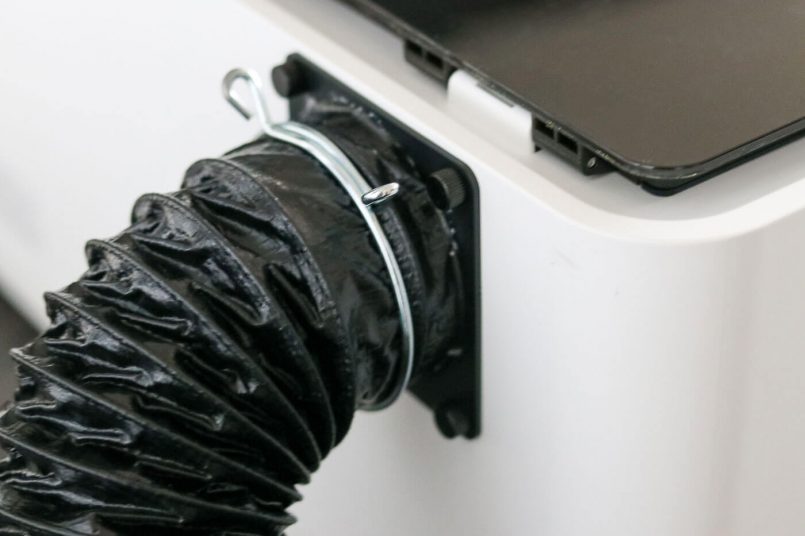
Second job, a similar shape to be cut out. Success. Now with the purifier fully assembled, all the smoke is gone, there’s no residue left and no smell whatsoever. The humming noise, however, is further aggravated by this additional machine.
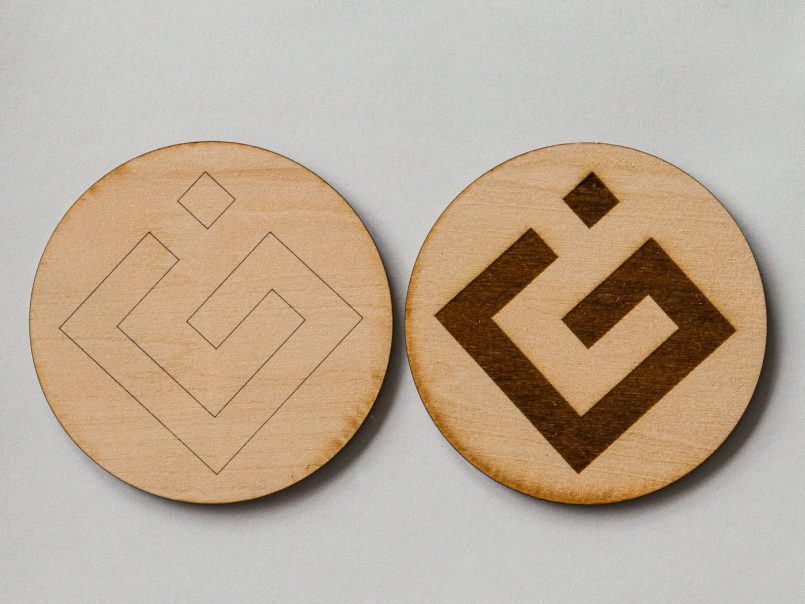
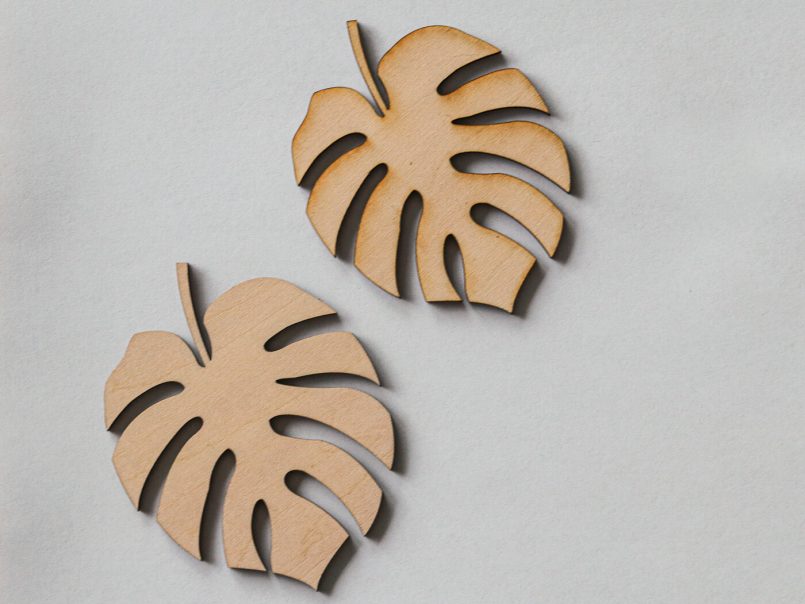
I continued working with wood with great results. Made some coasters that turned out perfect, except for a very faint burn mark / halo around it. You could call it a defect, but I think it’s charming, as it adds character to the piece. Personal taste, I guess.
Playing with the Air Assist
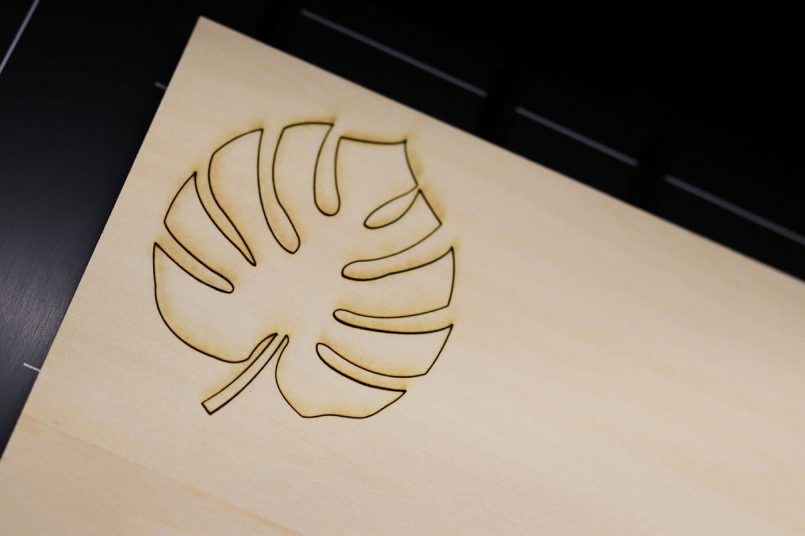
Nonetheless, my next step was to install the Air Assist set to see what it can do. This is an accessory designed to deliver a cleaner laser cutting finish, which essentially means no burn marks on wood. Installing this accessory wasn’t a quick task, as it requires you to disassemble the machine, turn it upside down, remove some components and add a few others. Again, the drawings on the user manual confused me, so I watched a video guide instead.
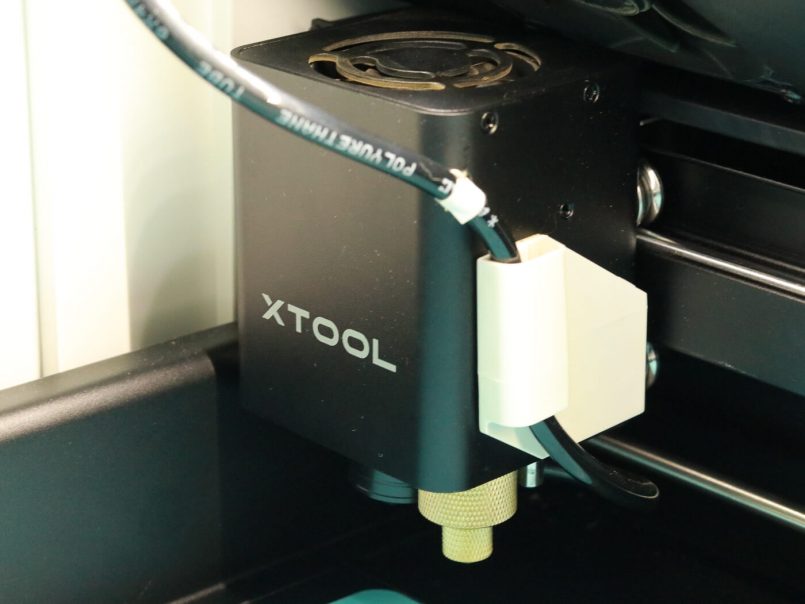

Once everything was in place, I cut the exact same shapes again. The results are very impressive. The Air Assist helped remove all traces of burned wood. The cuts are perfectly clean. The noise, of course, intensifies once again with this extra tool on.

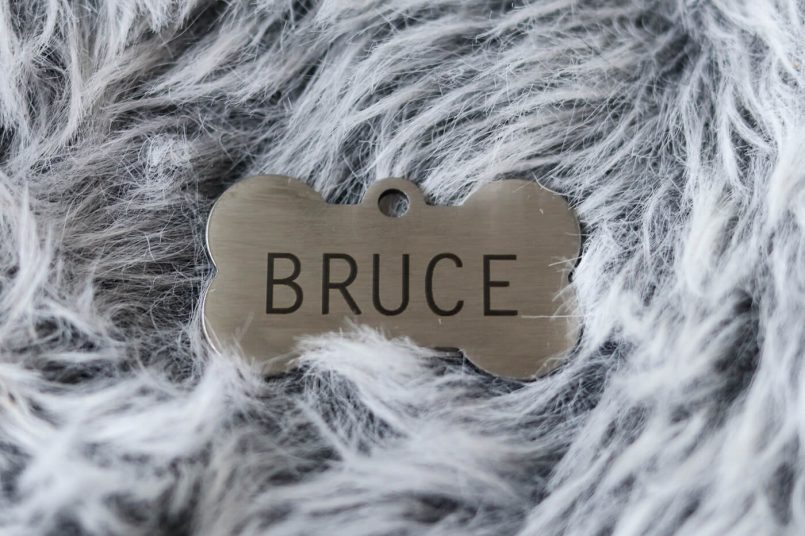
The next task was to see how the M1 performs when engraving other materials. A tag for my dog’s collar was an obvious choice and the result was great. The engraving was precise and quick, permanent and clear.

Next up, I wondered if it was possible to engrave food, I guess I was hungry. I had some macarons in the fridge and decided to give it a go. As it turns out, you totally can engrave food. A few frustrating tries to correctly position the design in the cookie’s center, but in the end it turned out perfect, and it was just as yummy.


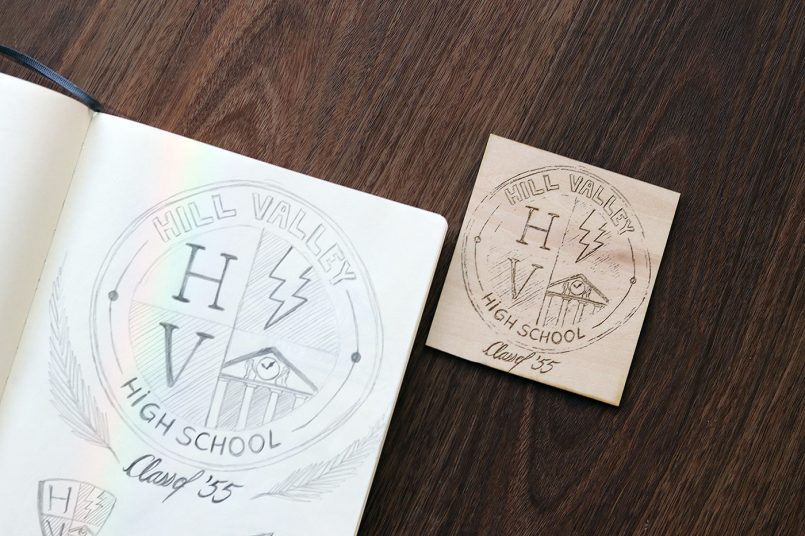
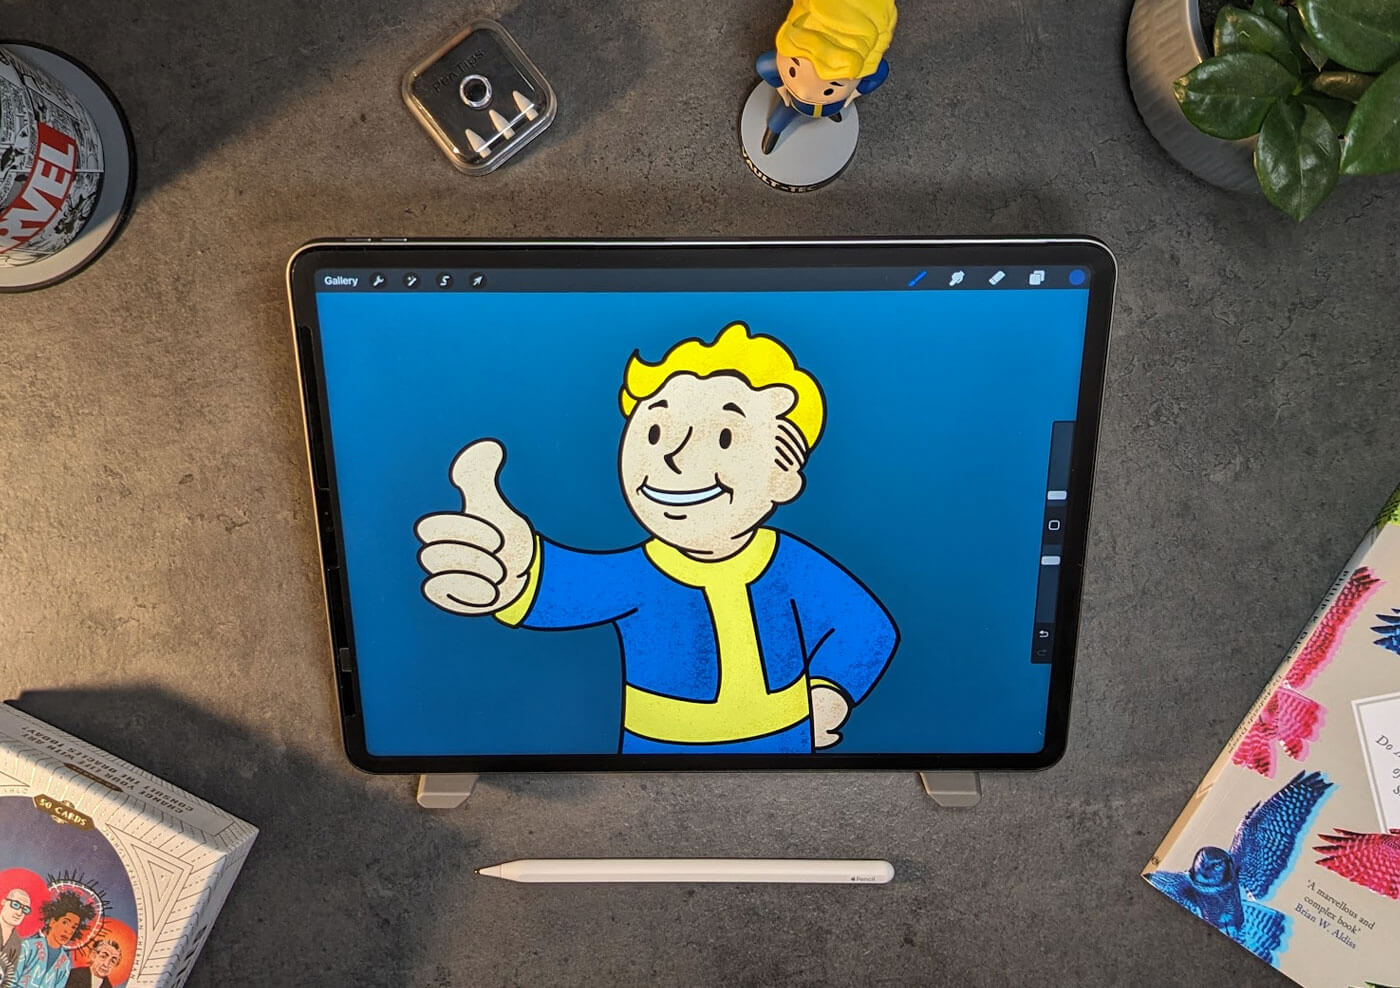
After that, I used the M1’s integrated camera to photograph a hand drawn design and see how well it would translate into wood. A few quick tweaks here and there, sharpness, brightness and detail. To my delight, the final result exceeded my expectations, every stroke and line was reproduced with stunning precision. The engraved version retained all the unique qualities of the original drawing, down to the subtle shading and textural elements.
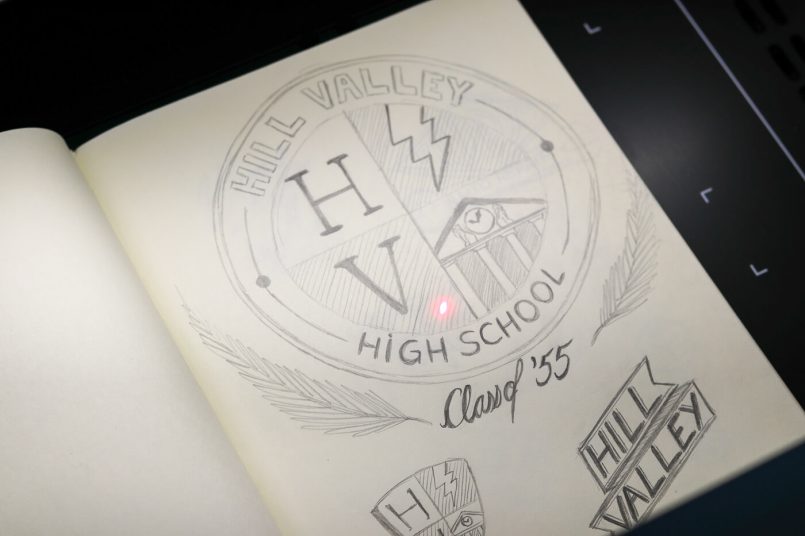
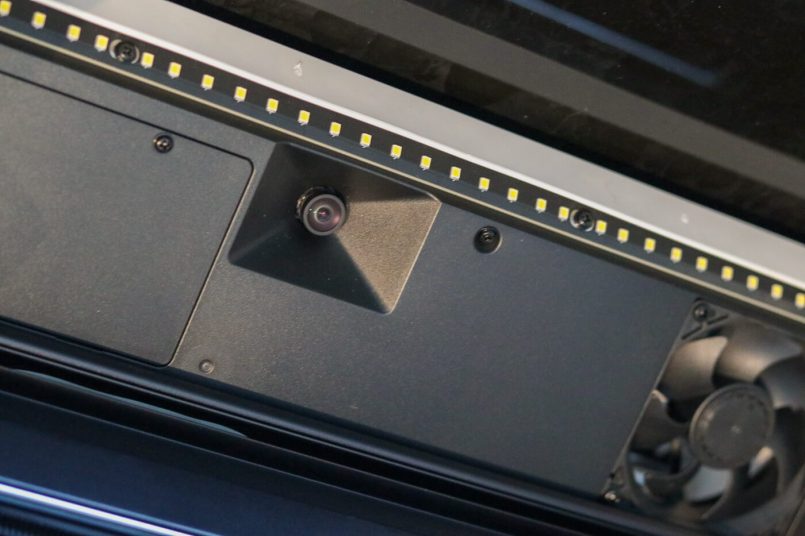
The integrated 16MP camera with AI auto focus is quite convenient and practical when it comes to capturing images of flat surfaces. It offers the advantage of easy visualization and is particularly useful when capturing hand-drawn designs, photographs, or even signatures. However, its placement poses a significant drawback. The camera’s position in the back of the device captures objects at an angle, resulting in distorted images. This becomes particularly evident when attempting to engrave deep objects. Finding the center point becomes an arduous task, causing frustration and waste of materials. The inability to align properly with these objects undermines its intended purpose of precise engraving.
I spent a bit more time engraving on wood, including this complex, edge-to-edge design on a cheeseboard. The detailed results with the M1 never failed to amaze me.


Riser Base with Honeycomb Panel
Now let’s talk about the riser base and honeycomb panel. It is essentially an extension that elevates the machine and lets you engrave taller objects. It has 3 levels of height with slots for you to slide the honeycomb panel into, giving you flexibility based on your requirements. It also includes a ruler for manual measuring in case the auto focus feature fails, as well as some magnetic pins to lock your material in place if needed.
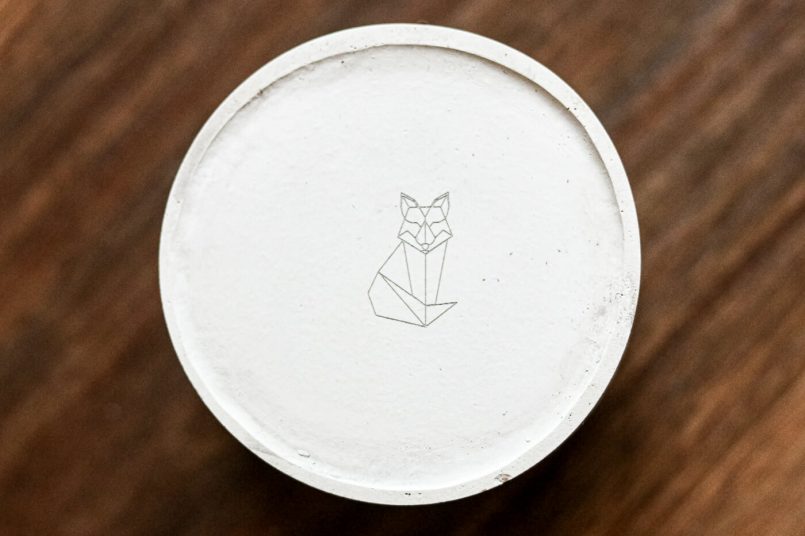
For my first project with this riser, I attempted to engrave some candle vessels. They are made of an acrylic resin material, which looks similar to concrete. Once again, the engraving lines came out really clean and perfect, but despite my best efforts, I was unable to achieve the desired precision in centering the design. I tried various techniques and parameter adjustments but unfortunately, nothing helped improve the results.


RA2 Rotary Arm Attachment
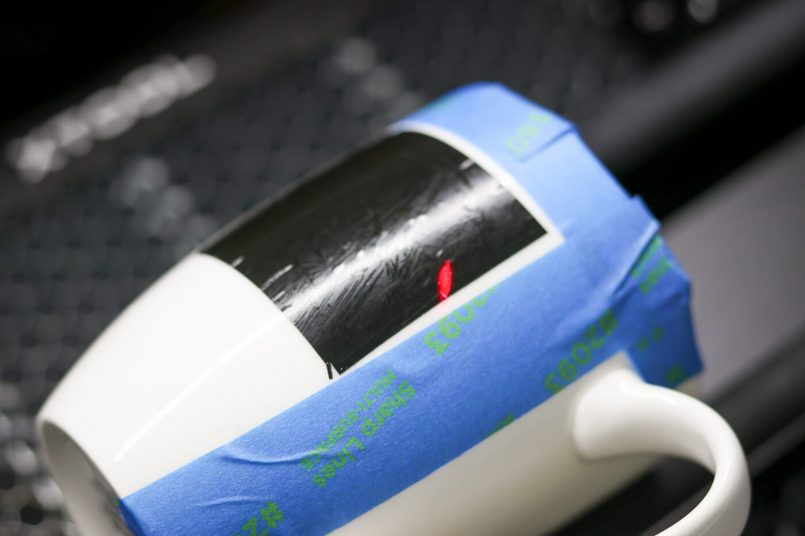
I then decided to play with the RA2 rotary arm attachment, which can be used to engrave cylindrical objects such as glasses and mugs. The installation is quick and easy, the learning curve is not. Getting used to engraving in a non-flat surface does require a little (a lot) of trial and error. After watching countless videos, I still don’t know exactly how to do it. I had some success with it, but still, I couldn’t say I actually learned how to use it, I guess I was just lucky for the most part.
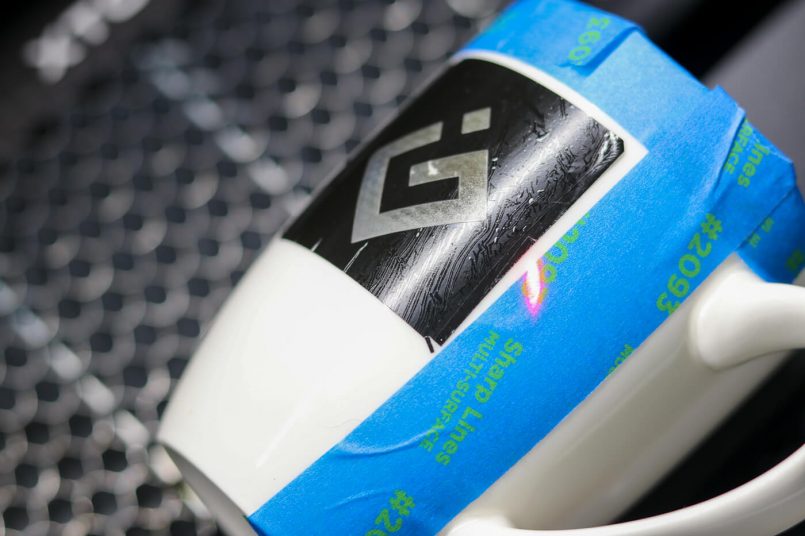
My first attempt was a mug. I set everything up and started the engraving process and… nothing came out. After a quick google search I learned that in order to get an image engraved onto ceramics or glass you first have to cover the surface with a dark material, otherwise the laser just goes right through it. The internet recommended some paint, so I tried that, but the result wasn’t great at all. I then realised that xTool’s premium material package comes with a special kind of paper, which is specifically designed for this kind of job. Except, there’s nothing in the package that tells me exactly how to use it. Yet another Google search and I finally learned how to do it. The result is a little better this time. Maybe with some more practice, we’ll get there.

I had better success with my next experiments, engraving on wine glasses. I created these monograms using some of the ready-to-use designs from the xTool Creative Space software and the results were quite nice.


For my final test with the rotary tool, I engraved a rolling pin all the way around with a cute Christmas pattern. My goal was to emboss some cookie dough with it later. This one, however, requires a couple more experiments. My first try was pretty good, except for the “not being centered thing” (my OCD is killing me right now). I only had one rolling pin to give this a shot, but I’ll definitely try again with a few tweaks in the settings.

The Blade Cutter
Finally, the blade cutter. This little thing is mighty impressive, it effortlessly glides through the material, producing super clean and precise cuts every single time, even with the smallest of details.
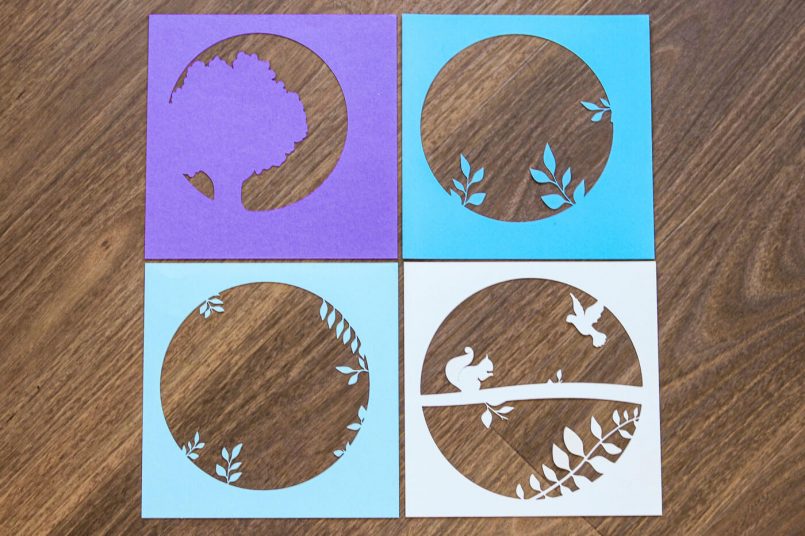

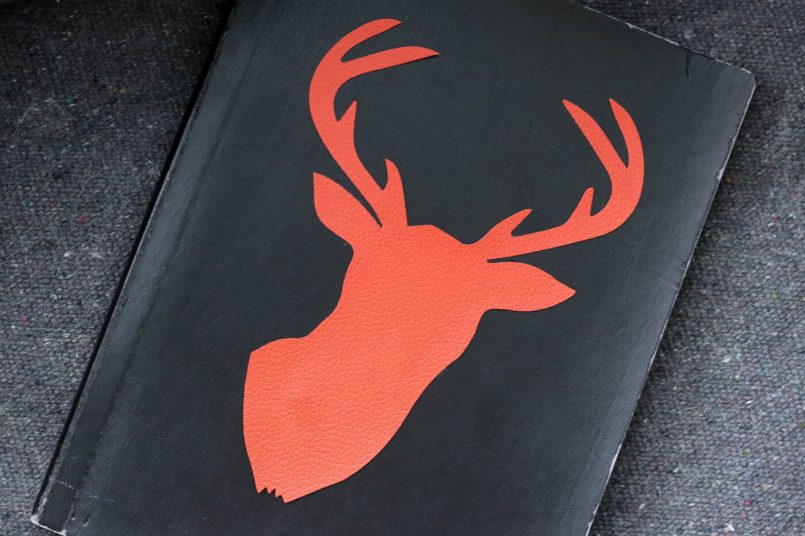
Leather, paper, cardboard or vinyl, all materials I tested produced excellent results, from simple bookmarks to complex layered paper artworks, the blade produced perfect and accurate cuts without any tearing or fraying.


Price
As of writing this article, the M1 is available for purchase at a reduced price of $1,399.00 (USD) on xTool’s website and $1099.98 on Amazon. While this may be a substantial investment, it is certainly a more cost-effective option when compared to its competitors. Particularly when you consider the fact that you may need to purchase multiple machines to get all the features and capabilities offered by the M1.
Pros & Cons
Now that we have explored all the details about the xTool M1 and its performance, it’s time to look at the pros and cons of this machine.
Pros
- Precision: every single stroke is perfect, accurate and clean even in the smallest details
- Versatility: it can be used for different crafting purposes, with an array of materials
- Speed: all designs tested were completed very quickly
- Personalization: it can be quite addictive to personalize everything you own using this machine
- Software: the xTool Creative Space application is intuitive and beginner-friendly
Cons
- Camera angle/position needs improvement
- Centering designs on different objects can become a tedious task
- The machine produces a noticeable hum, even when idle
- The user manual provided with the machine lacks information on specific machine settings for various materials, creating a learning curve for beginners

Verdict
The xTool M1 is an incredible all-round crafting machine that can deliver excellent results in a range of laser engraving, laser cutting and blade cutting projects. Design alignment, however, can be a bit of a challenge, leading to some frustration and waste of materials. Despite some of its shortcomings, which I hope can be improved in future versions of the product, the xTool M1 is a fast, precise and extremely fun to use crafting tool.
This post contains affiliate links to partner brands. We earn a small commission if you click the link and make a purchase. There is no extra cost to you, so it’s just a nice way to help support the site. The products included in this article were provided by their manufacturers for review purposes, however, the opinions expressed are entirely our own.


More
articles

Inspiration
in your inbox
Amazing art & design, never any spam.
We care about protecting your data. Please refer to our Privacy Policy for more.

- Advertising
- Architecture
- Art
- Branding
- Fashion & Beauty
- Gaming
- Graphic Design
- Illustration
- Industrial Design
- Interior Design
- Logo Design
- Packaging Design
- Photography
- Pop Culture
- Print Design
- Product Design
- Technology
- Typography
- UX & UI Design
- Vehicle Design
- Video & Motion
© 2024 Inspiration Grid, all rights reserved. Some of our posts may contain affiliate links to partner brands. We earn a small commission if you click the link and make a purchase. There is no extra cost to you, so it’s just a nice way to help support the site. All images, videos, and other content posted on the site is attributed to their creators and original sources. If you see something wrong here or you would like to have it removed, please contact us.